Pipette Basics Pipette like a pro!
The accuracy of microliter pipettes critically depends on the user’s technique. Even small mistakes can affect results, whereas correct handling enables precise and reproducible outcomes. From selecting the right pipette to applying the proper technique: those who understand the relationships and work carefully will master demanding laboratory tasks.
In the BRAND Pipette Basics, you’ll learn how a microliter pipette works, what types exist, and how to use it correctly. Afterwards, you’ll receive practical tips and solutions for challenging applications from our experts for reliable, efficient workflows in the laboratory.
How does a micropipette work?

Our micropipette Transferpette® operates on the air-cushion principle and is therefore also known as an air-cushion pipette.
The liquid is separated from the pipette by an air cushion. Pressing the pipetting button moves a piston inside the pipette. Moving the piston up and down generates negative or positive pressure, which draws liquid into the tip and then dispenses it again.
Advantages:
- precise and accurate pipetting
- fast, flexible, and efficient
- contamination-free operation
What are the different types of micropipettes?
BRAND micropipettes are available as mechanical devices (Transferpette® S, Transferpette® pro) or electronic devices (Transferpette® electronic), and in single-channel or multichannel versions with 8 or 12 channels.


How do you use a pipette correctly?
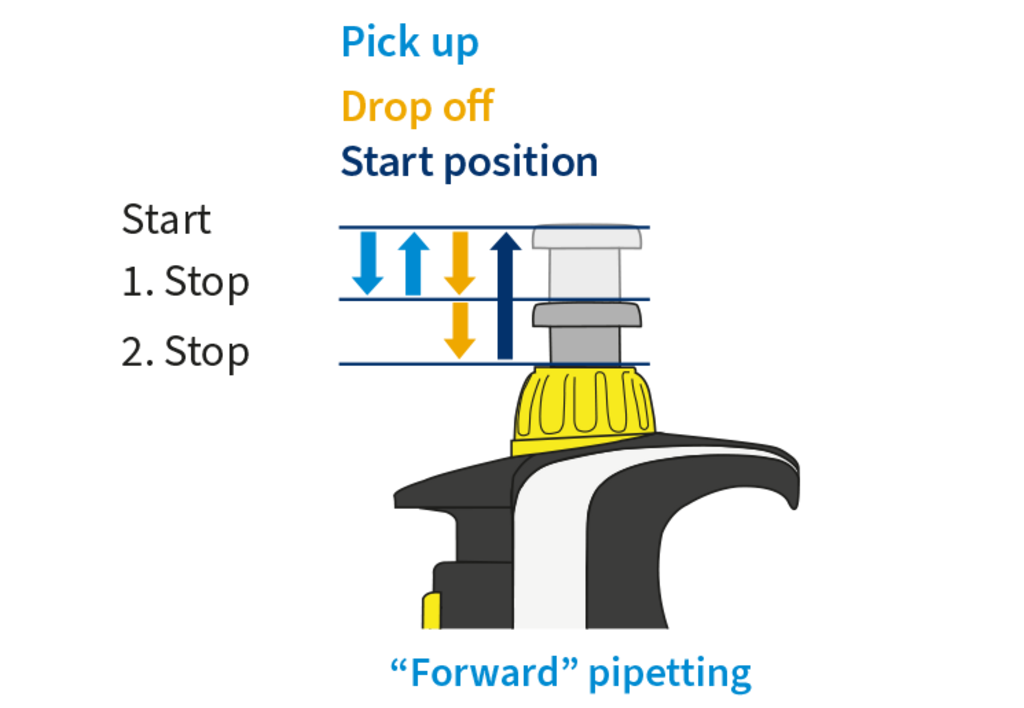
Forward (standard) pipetting
Liquid uptake is performed by pressing the pipetting button to the first stop, immersing the pipette tip in the liquid, and then returning the button to its starting position.
To dispense the liquid, press the pipetting button again to the first stop. Then press to the second stop (blow‑out) to ensure the entire volume is fully dispensed.
When do you use forward pipetting?
“Forward” pipetting is the standard method to which pipettes are factory-adjusted. It generally delivers the most accurate results for standard applications with aqueous solutions.
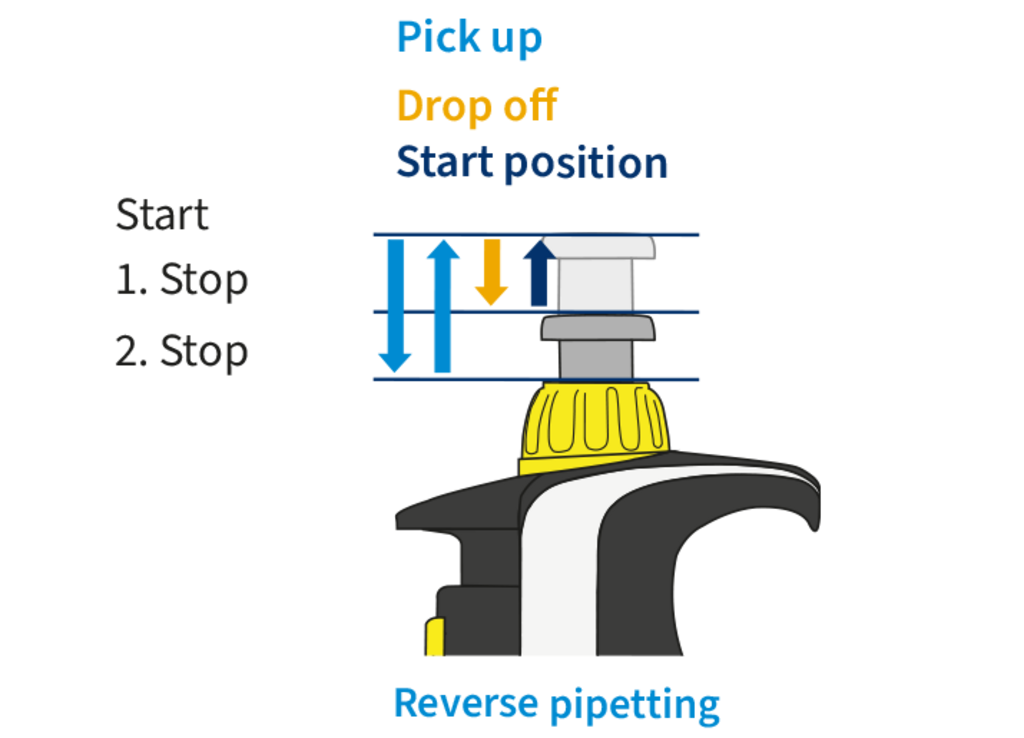
Reverse pipetting
For reverse pipetting, press the pipetting button directly to the second stop. Then immerse the pipette tip in the liquid and slowly return the button to its home position, so that a larger liquid volume than the set volume is aspirated.
To dispense the liquid, press the pipetting button to the first stop; this dispenses the set volume. The remaining volume is not part of the target volume and is discarded.
When do you use reverse pipetting?
When pipetting liquids with properties that differ from water (e.g., viscous, volatile, foaming), reverse pipetting can be beneficial and improve pipetting results.
 Note
Note
Practical tips
The following practical tips summarize the key points for selecting the right tips, correct preparation, and a clean pipetting procedure.
Pipettes & tips

For microliter pipettes, the optimal volume range for highest precision and accuracy is 30% to 100% of the nominal volume (NV). For volumes below 30% of the nominal volume, it is advisable to switch to a smaller volume variant.

Tip suitability can be determined by testing tightness (PLT unit) and volume accuracy (see SOP).
Tightly sealing pipette tips are essential for good pipetting results. The best results are generally achieved with original tips from the pipette manufacturer (= test tips used in factory calibration). With tips that differ geometrically, an adjustment may be advisable.
Preparation
Optimal results are achieved when the pipette, pipette tip, and liquid are at the same temperature. If possible, the liquid should be adjusted to ambient temperature before use.
A portion of the aspirated liquid evaporates from the surface into the air cushion, reducing the volume actually available for dispensing. To saturate the air cushion, each newly mounted tip should be pre-wetted by repeatedly aspirating and dispensing the liquid. According to ISO 8655, at least five cycles per tip are required.
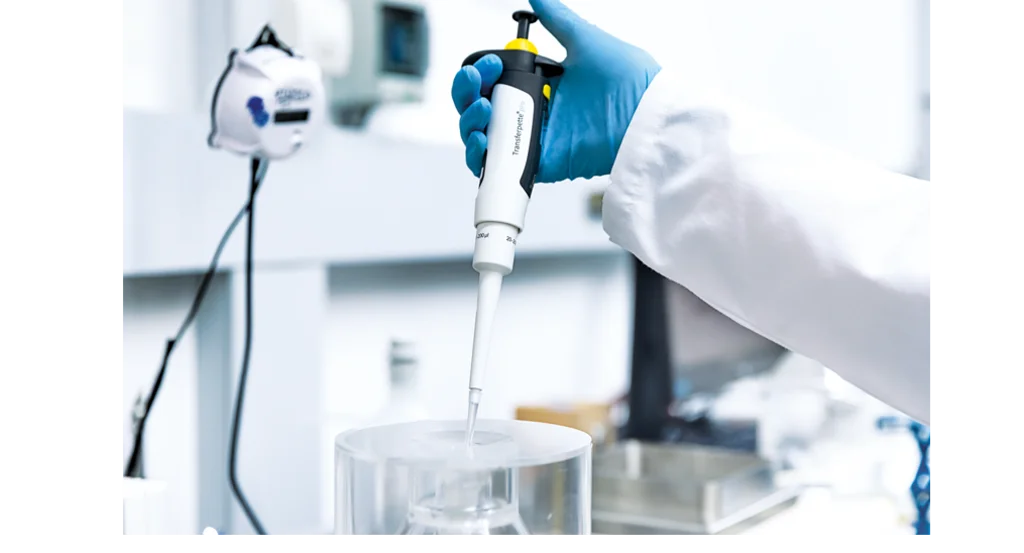
Correct pipetting
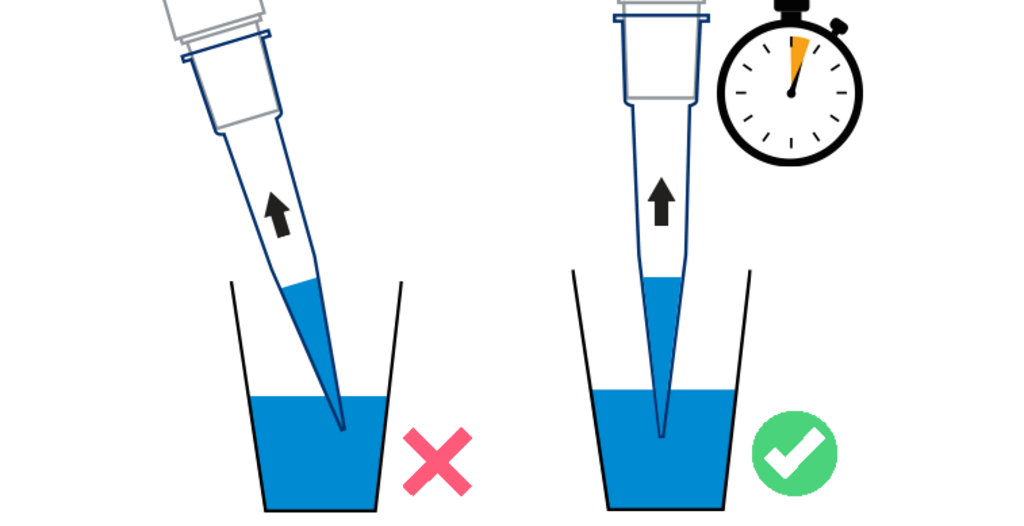
1. Hold the pipette as vertically as possible during aspiration (max. 10°). Adjust immersion depth and wait time to the target volume and the liquid’s properties.
The volume uptake determines how much liquid can actually be dispensed and is particularly error-prone. A tip immersed at an angle changes the hydrostatic pressure in the tip and, together with incorrect immersion depth, can affect volume accuracy. Depending on the target volume, the pipette needs more or less time to fully aspirate the liquid.
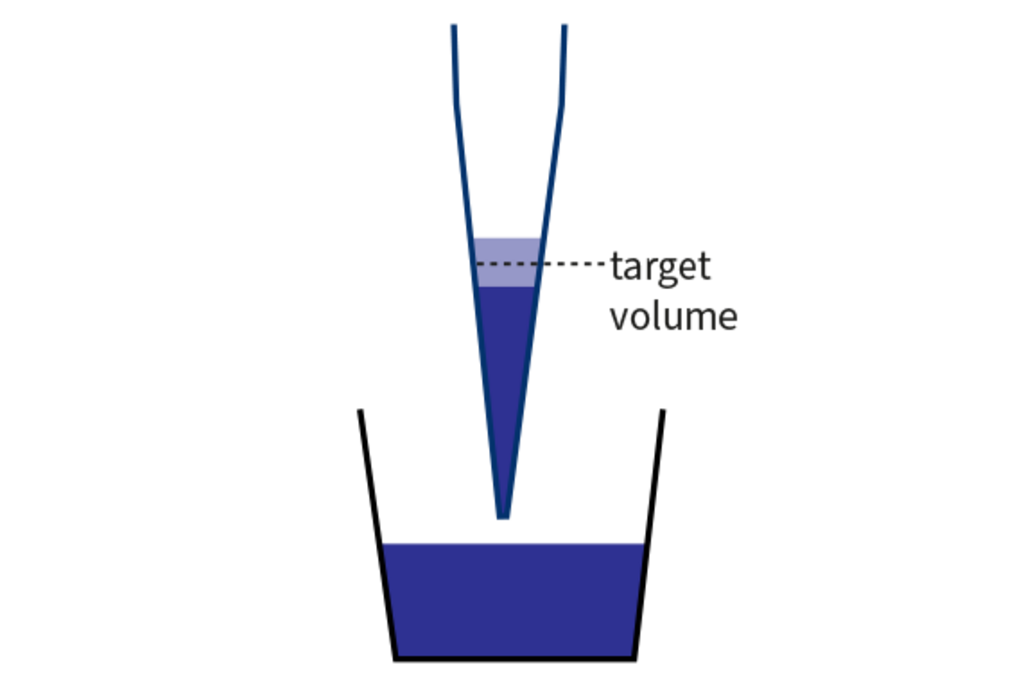
2. After dispensing the volume, wipe the pipette tip against the vessel wall over 8–10 mm.
The target volume corresponds to the full liquid volume in the pipette tip. Therefore, ensure complete volume delivery.

Volume range
Immersion depth [mm]
Wait time [s]
Our compact '10 Steps to Becoming a Pipetting Pro' handout clearly summarises all the key tips and tricks. It's a handy quick guide for the lab available as a free download. 👉
Solutions for demanding applications or conditions
Pipettes are factory-adjusted on water under defined conditions (ISO 8655) and are ideal for pipetting aqueous solutions. Under deviating conditions, volume accuracy may be reduced. For optimal results, positive displacement pipettes such as the HandyStep® touch or BRAND Transferpettor are recommended. When using an air‑cushion pipette, the following techniques and temporary user adjustment can contribute to improved results.
How can a pipette that is factory-calibrated with water reliably pipette liquids with a different density?
Perform a temporary volume compensation via user adjustment.
Background:
Pipettes are factory-adjusted to the density of distilled water. A density that deviates from this (e.g., potassium iodide solution) affects the expansion of the air cushion and thus the liquid volume.
For high-density liquids, the air cushion expands due to the higher hydrostatic pressure and may not aspirate the full volume.
How can viscous liquids be pipetted successfully?
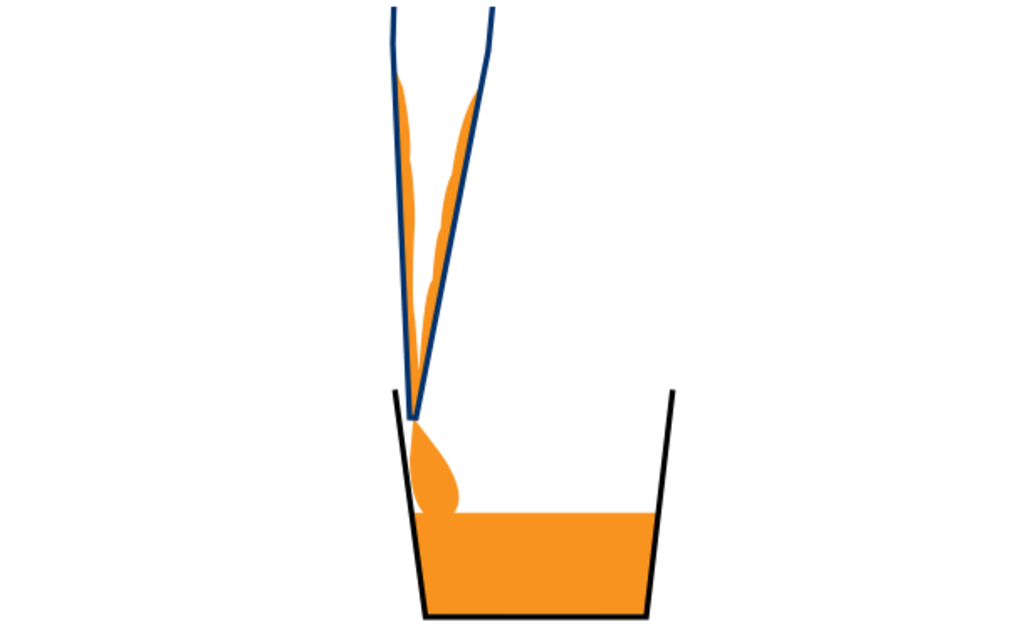
- Reverse pipetting
- Pipette slowly and increase the dwell time
- Volume correction through user adjustment
Background:
Viscous liquids (e.g., glycerol, oils) make accurate pipetting difficult because their high flow resistance slows both aspiration and dispensing. In addition, residual liquid often remains in the pipette tip.
How can droplet formation be prevented when pipetting volatile liquids?
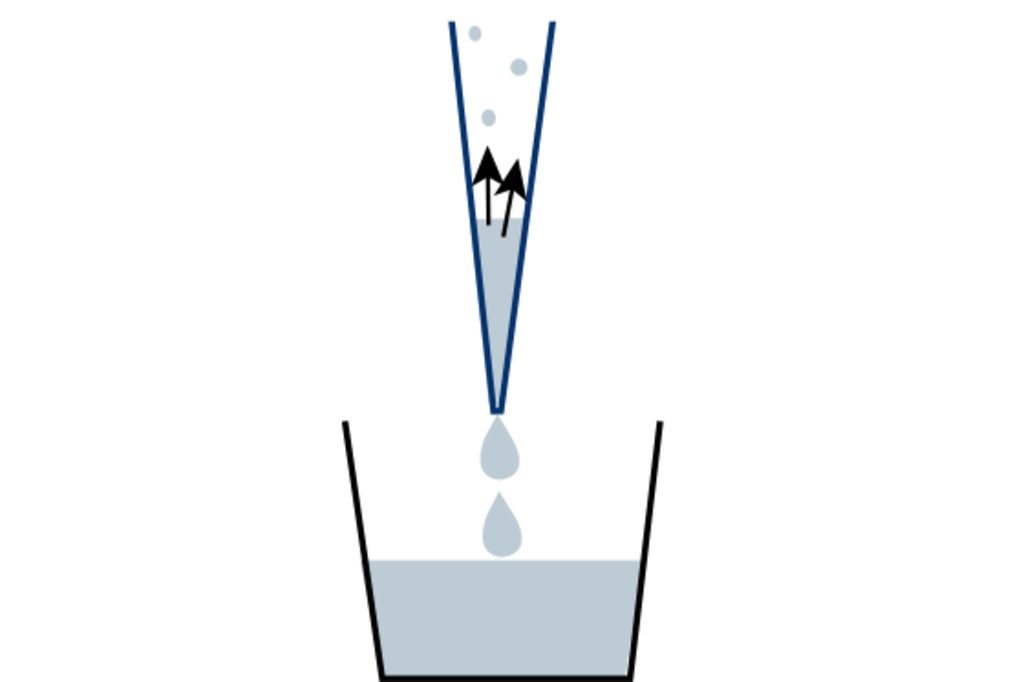
- Pre-wet the air cushion at least five times (to saturate it)
- Use reverse pipetting
- Apply a volume correction via user adjustment after sufficient pre-wetting
Background:
With volatile liquids (e.g., ethanol), part of the volume evaporates into the unsaturated air cushion inside the pipette. This expands the air cushion and pushes liquid out of the tip, which often leads to droplet formation.
How can foam formation be avoided when pipetting foaming liquids?
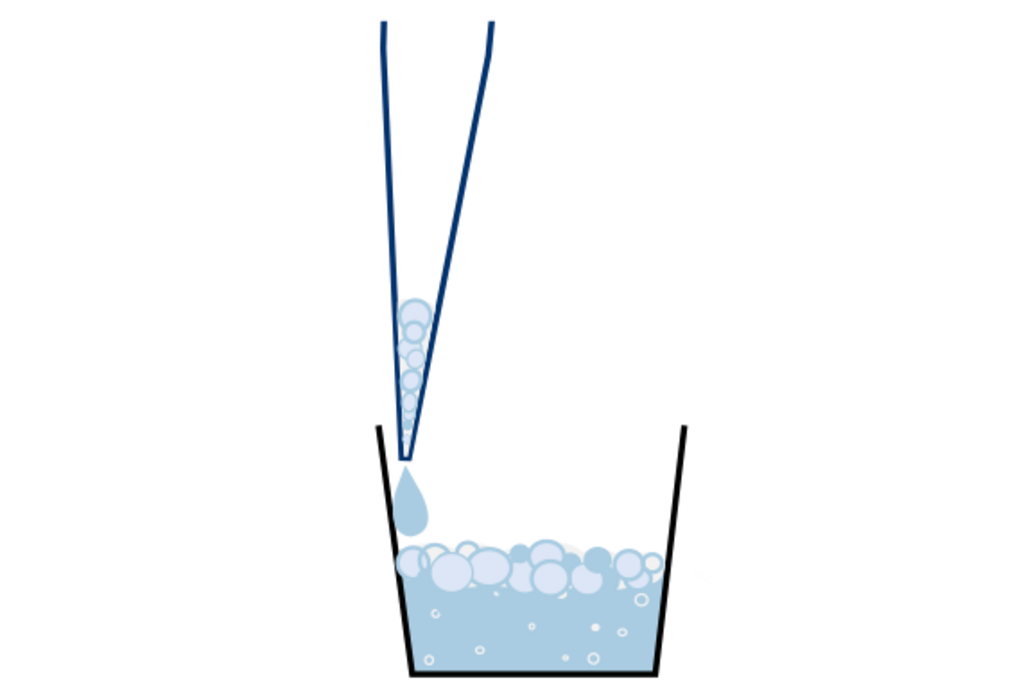
- Reverse pipetting
- Pipetting slowly
- Filter tips can protect against contamination
Background:
Foaming liquids make accurate and reproducible pipetting difficult because they tend to form air bubbles.
How do you pipette liquids with low surface tension?
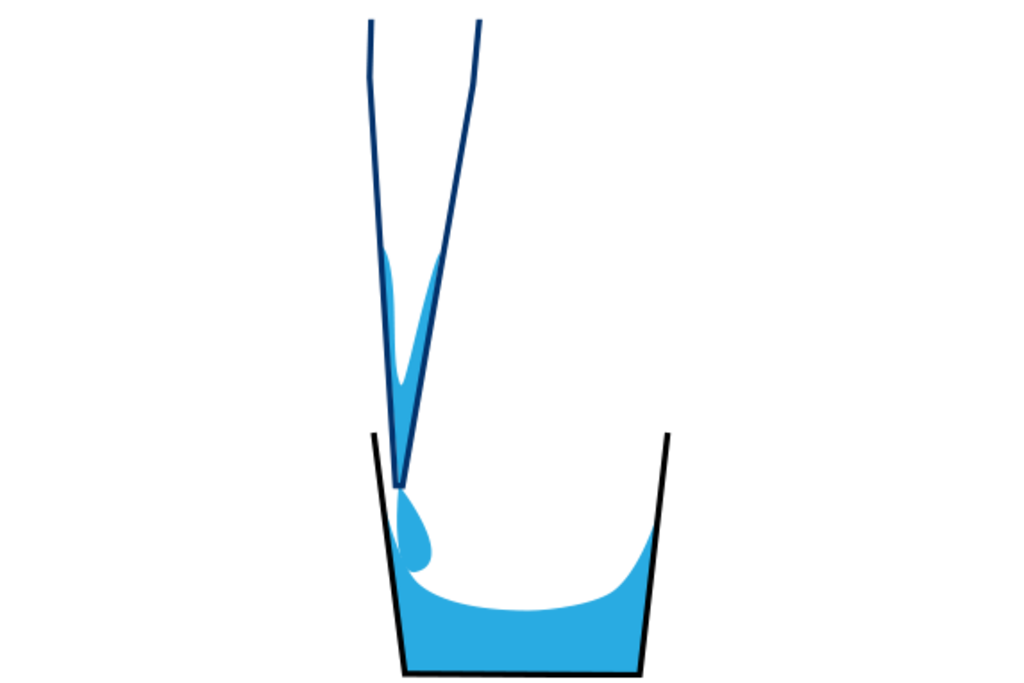
- Use high-quality tips
- Use reverse pipetting
Background:
Liquids with low surface tension tend to wet surfaces, which makes complete and uniform dispensing more difficult.
How should temperature-sensitive samples be pipetted when temperature equilibration is not possible?
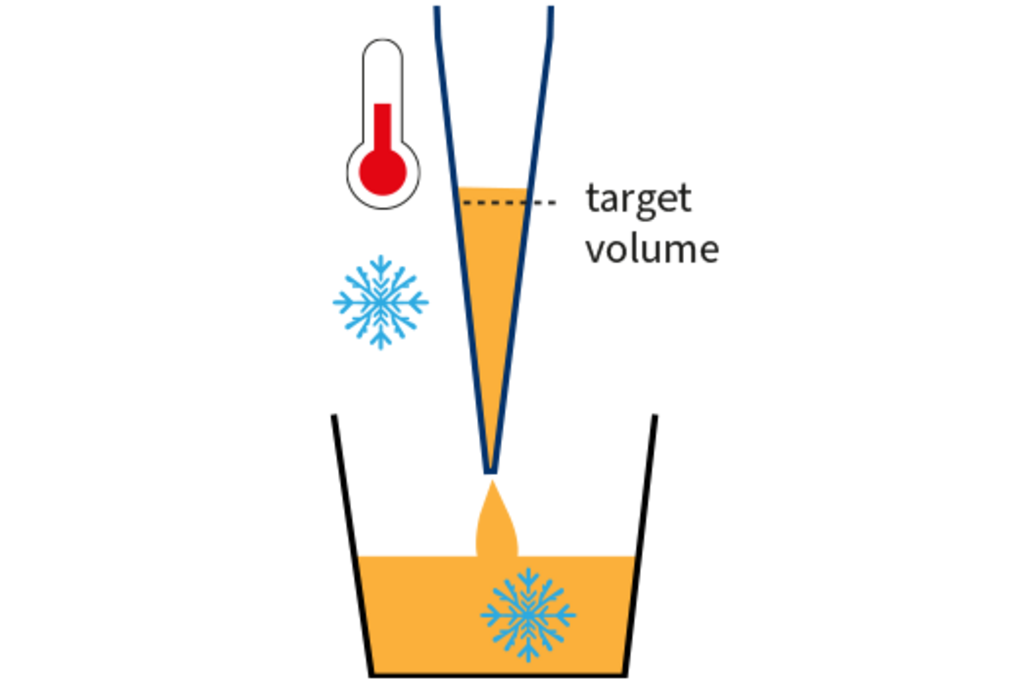
- Change tips after each pipetting step
- Do not pre-wet the air cushion
- User Adjustment
Background:
Temperature differences between the liquid, the pipette, and the environment alter the air cushion and reduce accuracy. For example, when pipetting cold liquid, the air cushion contracts during the first aspiration step, causing too much volume to be taken up initially.
Learn more about these effects in our Technical Note.
We have compiled a concise overview of common pipetting challenges for you in a handout.
Compact, easy to understand, and ideal as a guide in the laboratory. Download it for free using the button. 👉
Note
Equipment monitoring and maintenance
In addition to proper pipetting technique, regular inspection and maintenance are essential for achieving consistently high-quality pipetting results. As part of equipment monitoring under ISO and GLP guidelines, volumetric instruments must be checked regularly for accuracy and adjusted if necessary. We recommend performing a volume check (calibration) and maintenance at least every 3 to 12 months. The interval can be adapted to individual requirements.
In the following situations, maintenance should be carried out immediately, regardless of the regular maintenance cycle:
- Liquid has been aspirated into the interior of the pipette
- The pipette drips when pipetting water
- The pipetting button is difficult to move
- The leak test using a PLT unit indicates a leak
- Irregularities are observed during gravimetric volume testing
You can find further information on maintenance in your pipette’s user manual and in our SOP for equipment monitoring.
Literaturhinweise
Expertenbericht DKD-E 8-2 Analyse der Einflussgrößen auf die Kalibrierung von Kolbenhubpipetten mit Luftpolster, Ausgabe 05/2013, Revision 0, Physikalisch-Technische Bundesanstalt, Braunschweig und Berlin. DOI: 10.7795/550.20250320
Feldmann, R., Lochner, K.H. Influences on volume in piston-operated air-displacement pipettes. Accred Qual Assur 21, 69–82 (2016). DOI: 10.1007/s00769-015-1171-y
ISO 8655, Piston-operated volumetric apparatus